Start with your image, not a blank canvas. Image to image AI combines your reference with a prompt to explore a new background, lighting mood, or style.
Upload a reference. Describe what stays and what changes. Explore a new version with image to image AI.
01 / Product
One product. A different setting.
Reference
Variation
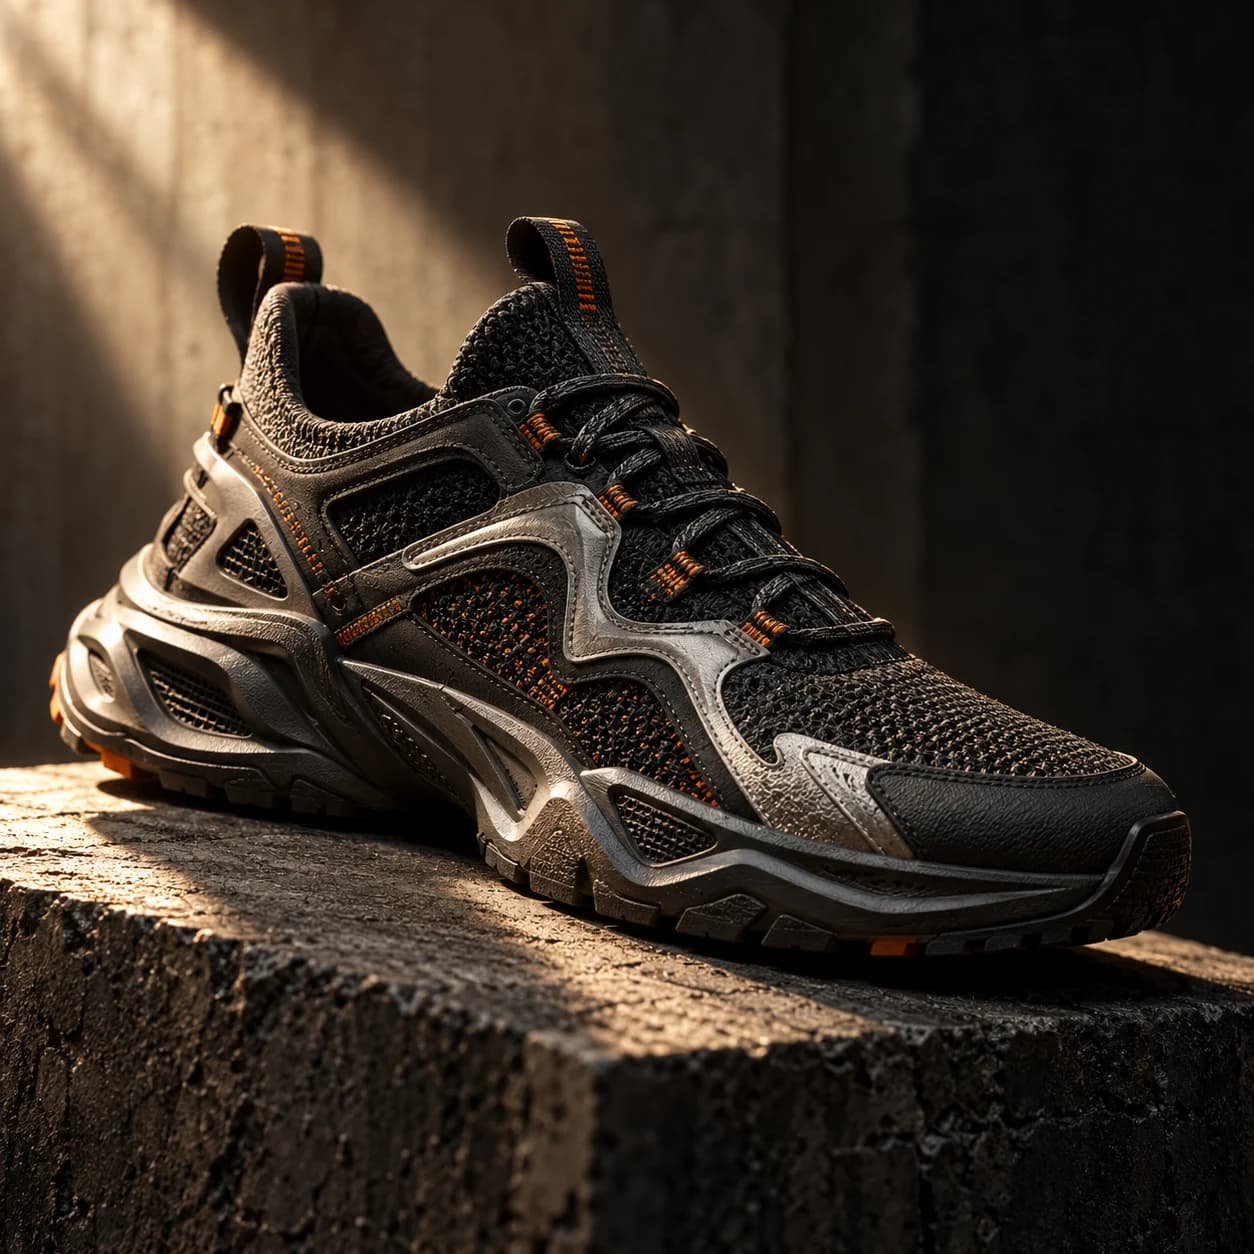
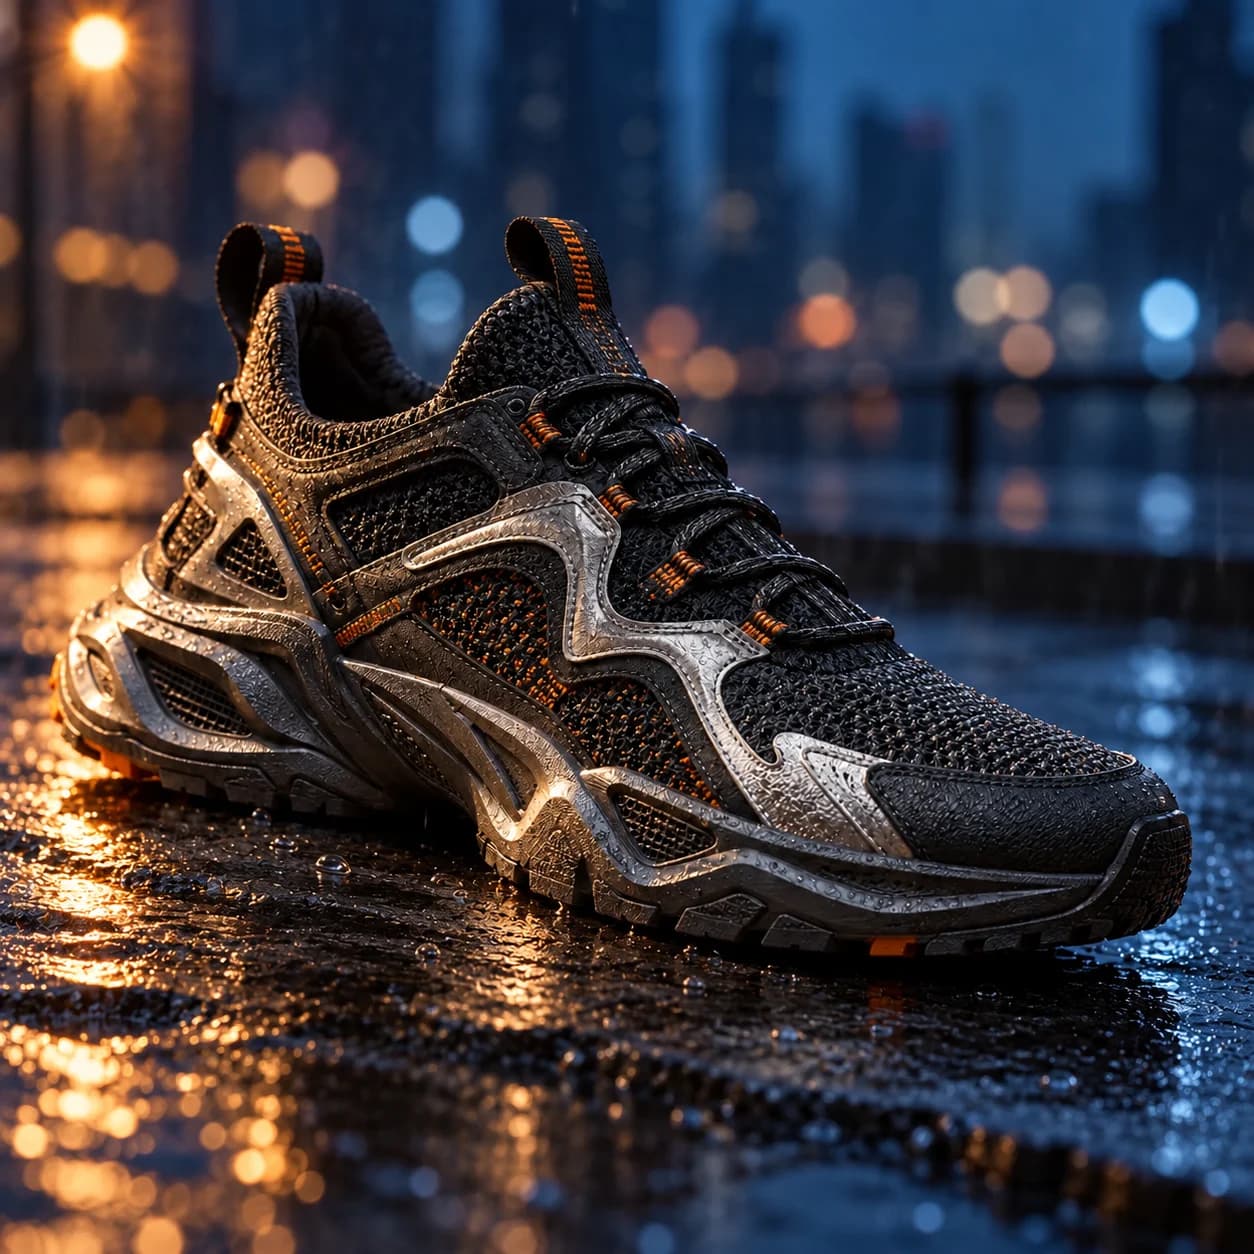
Keep
Shoe silhouette, materials, and camera angle
Change
Warm concrete → cool wet slate
See the image to image prompt +
Keep the same sneaker, proportions, silver panels, orange details, and camera angle. Change the setting to wet dark slate at blue hour with soft cool background light. No new products, logos, or text.
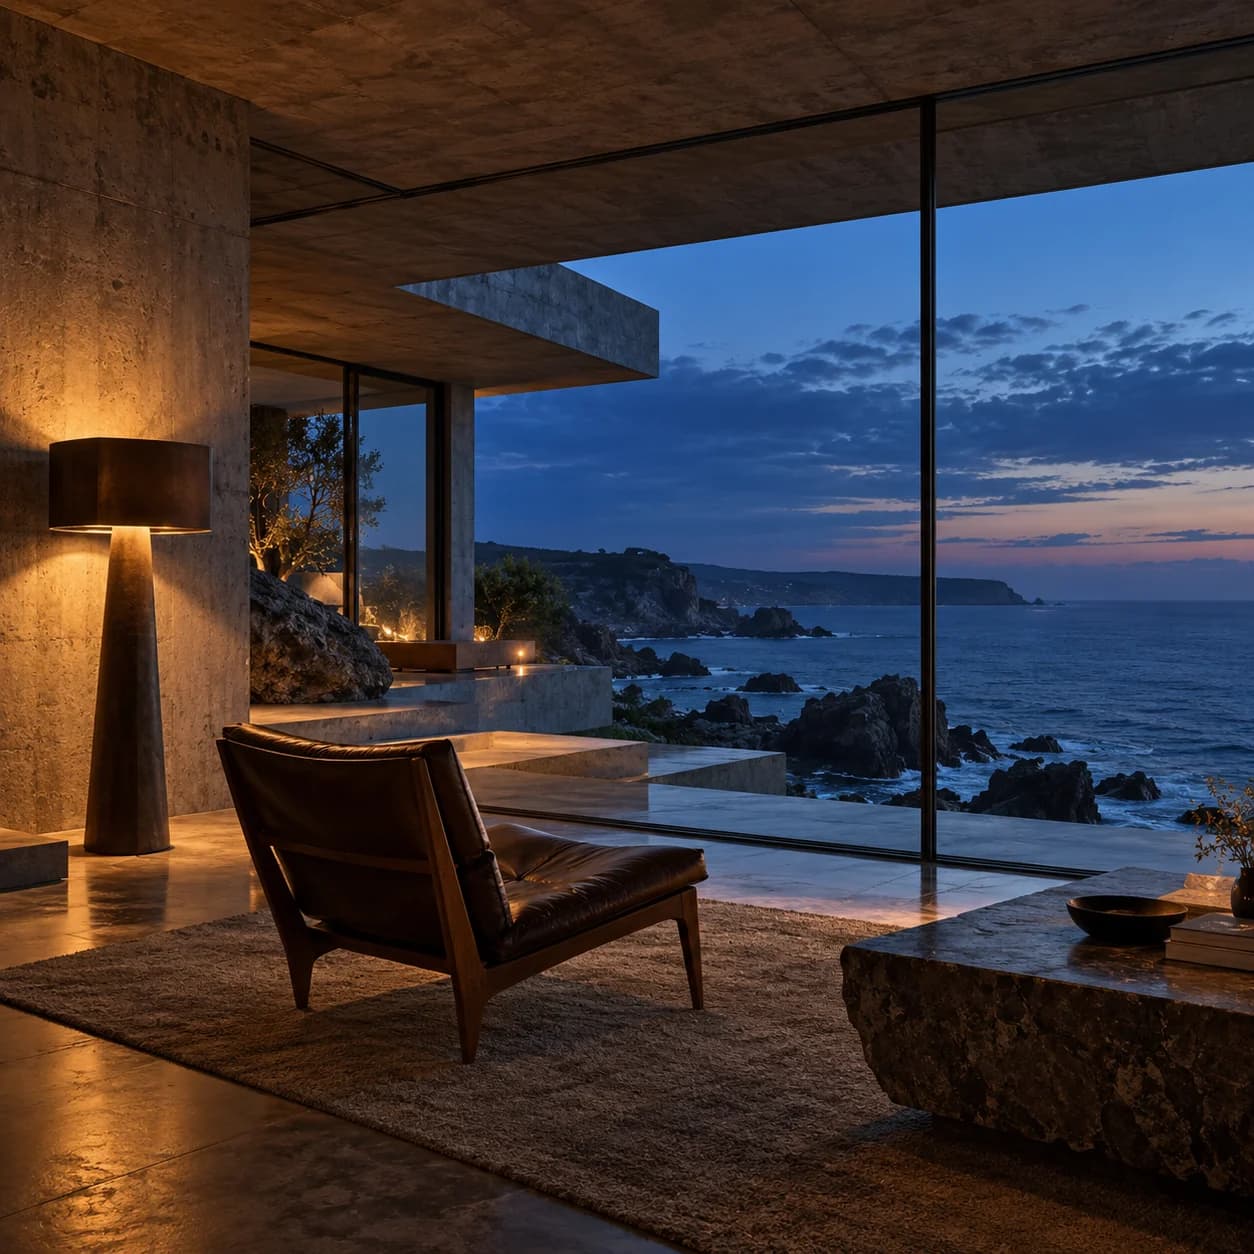
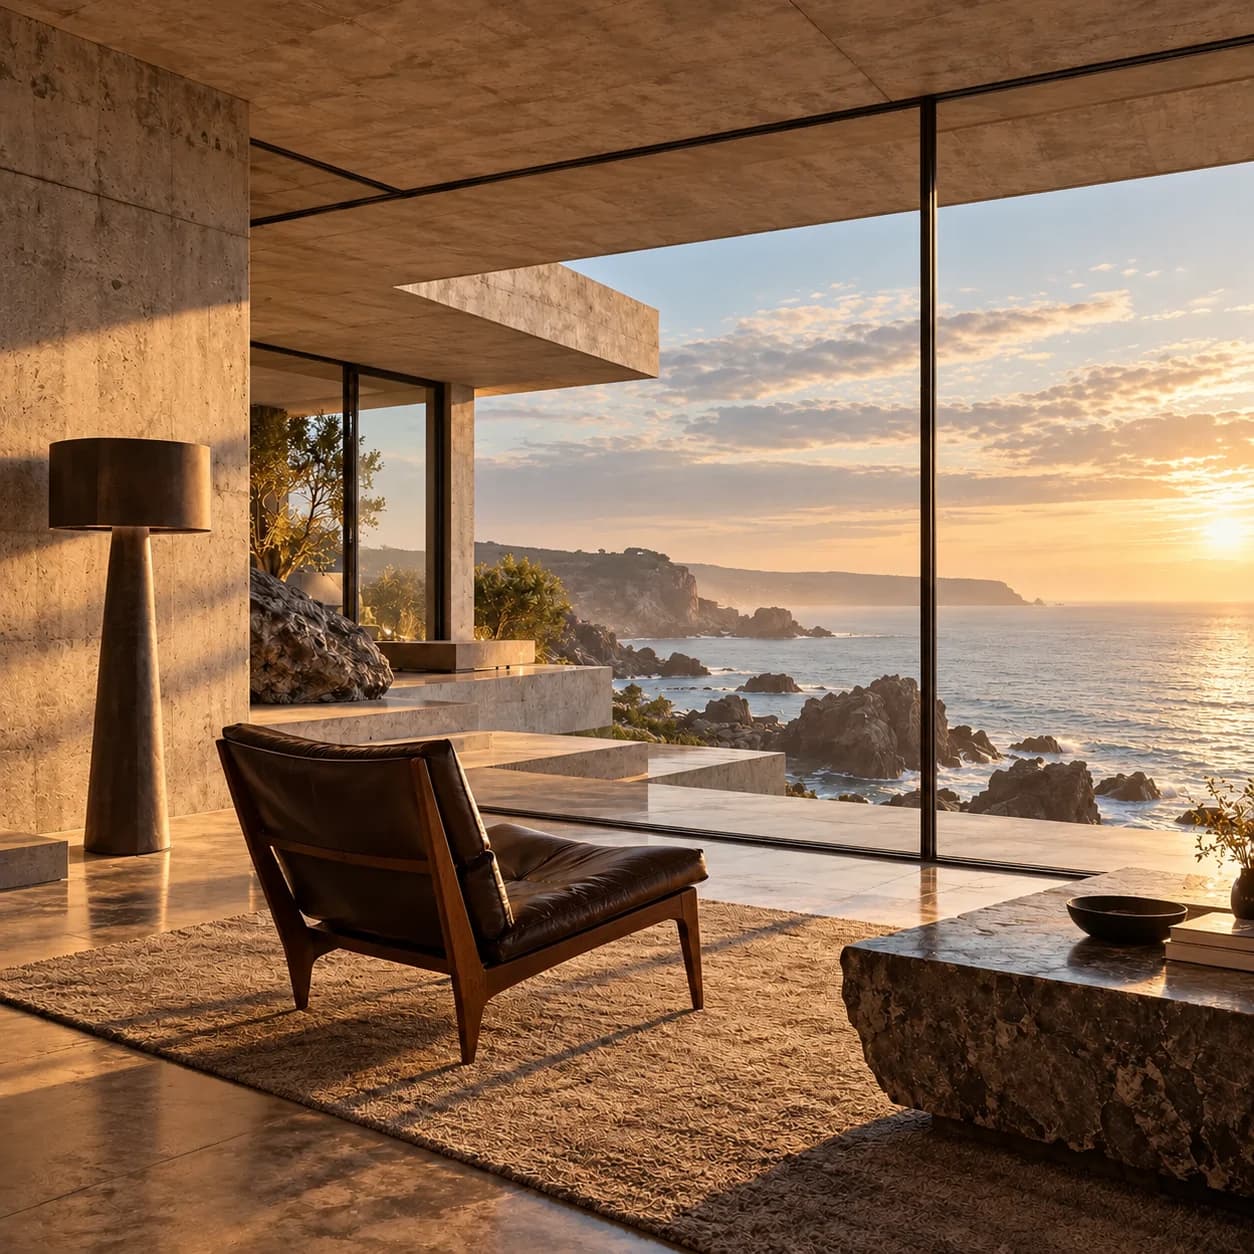
02 / Interior
Same space. Another time of day.
Reference
Variation
Keep
Room layout, glazing, furniture, and viewpoint
Change
Blue hour → golden morning
See the image to image prompt +
Keep the room geometry, windows, furniture positions, coastline, and camera viewpoint. Change only the atmosphere to a soft golden morning, with sunlight through the existing glass and the lamp switched off.
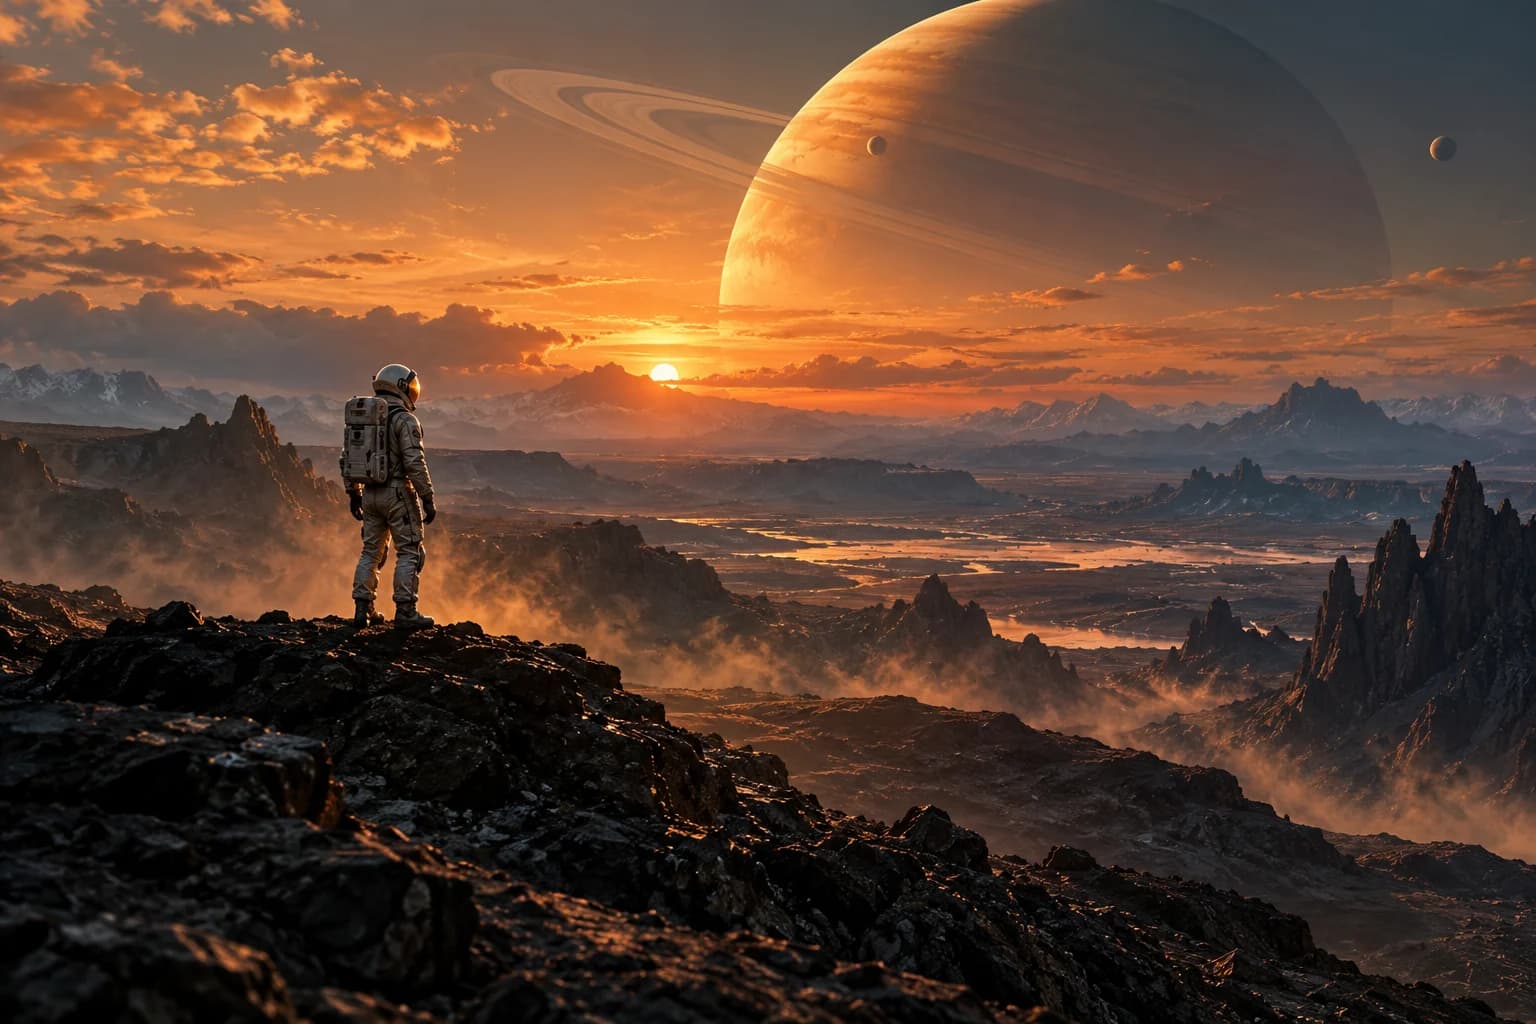
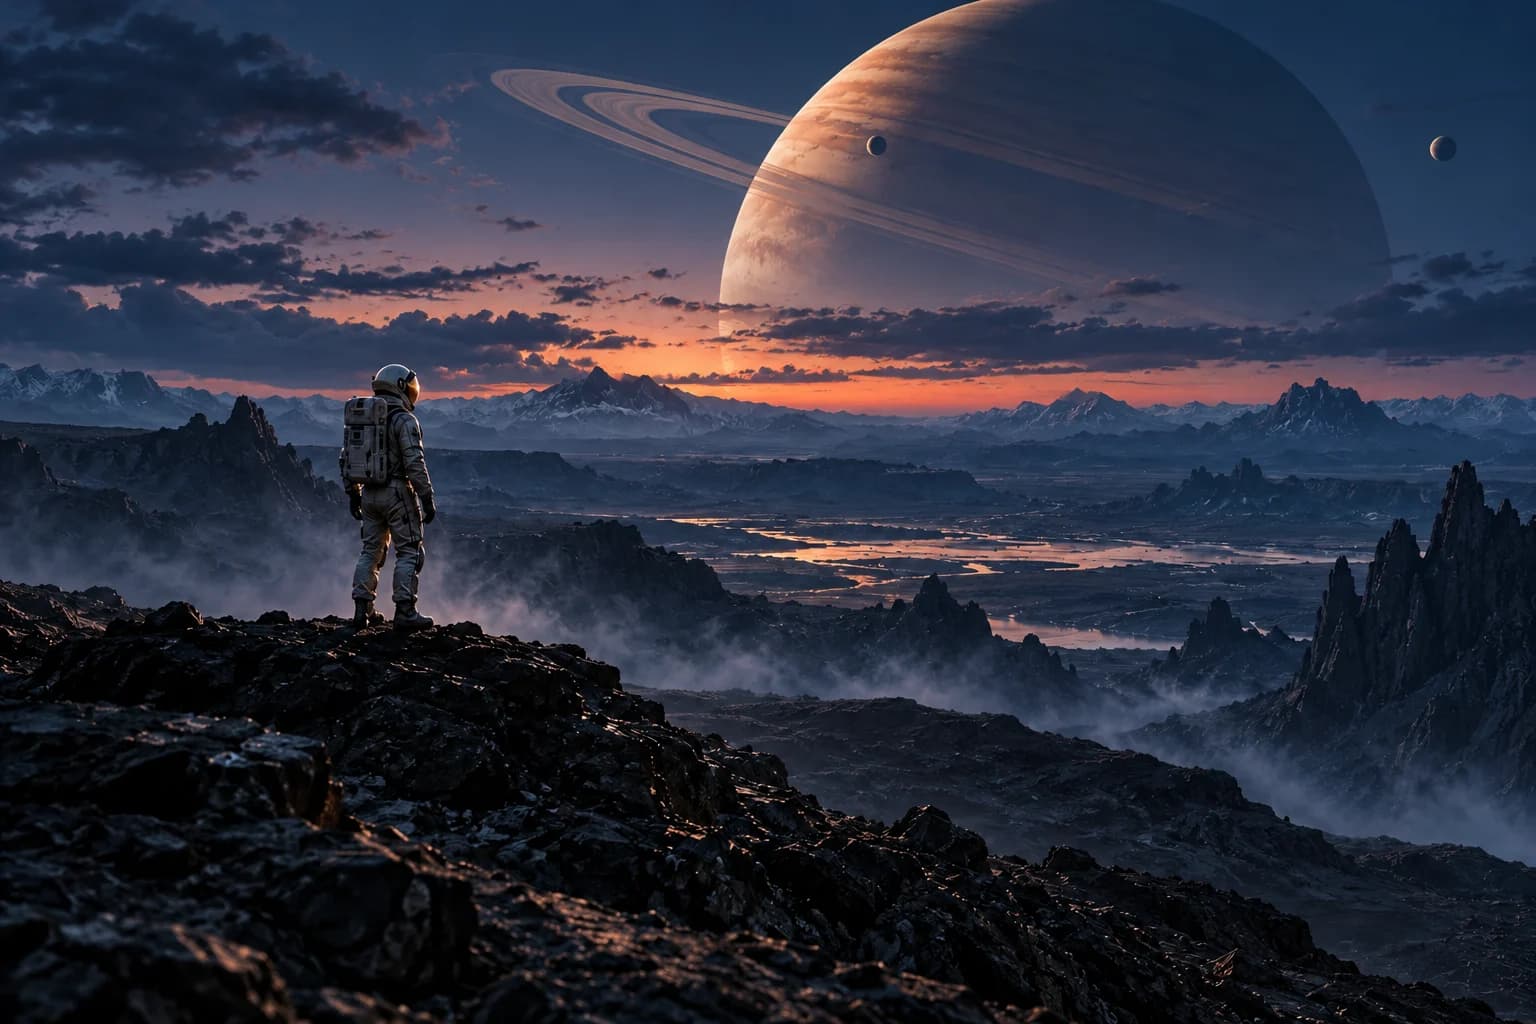
03 / Scene lighting
Keep the world. Shift the mood.
Reference
Variation
Keep
Explorer, ridge silhouette, and planet placement
Change
Amber sunset → cool blue hour
See the image to image prompt +
Keep the explorer, ridge silhouette, planet placement, and wide viewpoint. Change the lighting to cool blue hour with a restrained warm glow along the horizon. Do not add new subjects.
04 / Character
Find the character in your head.
Reference
Variation
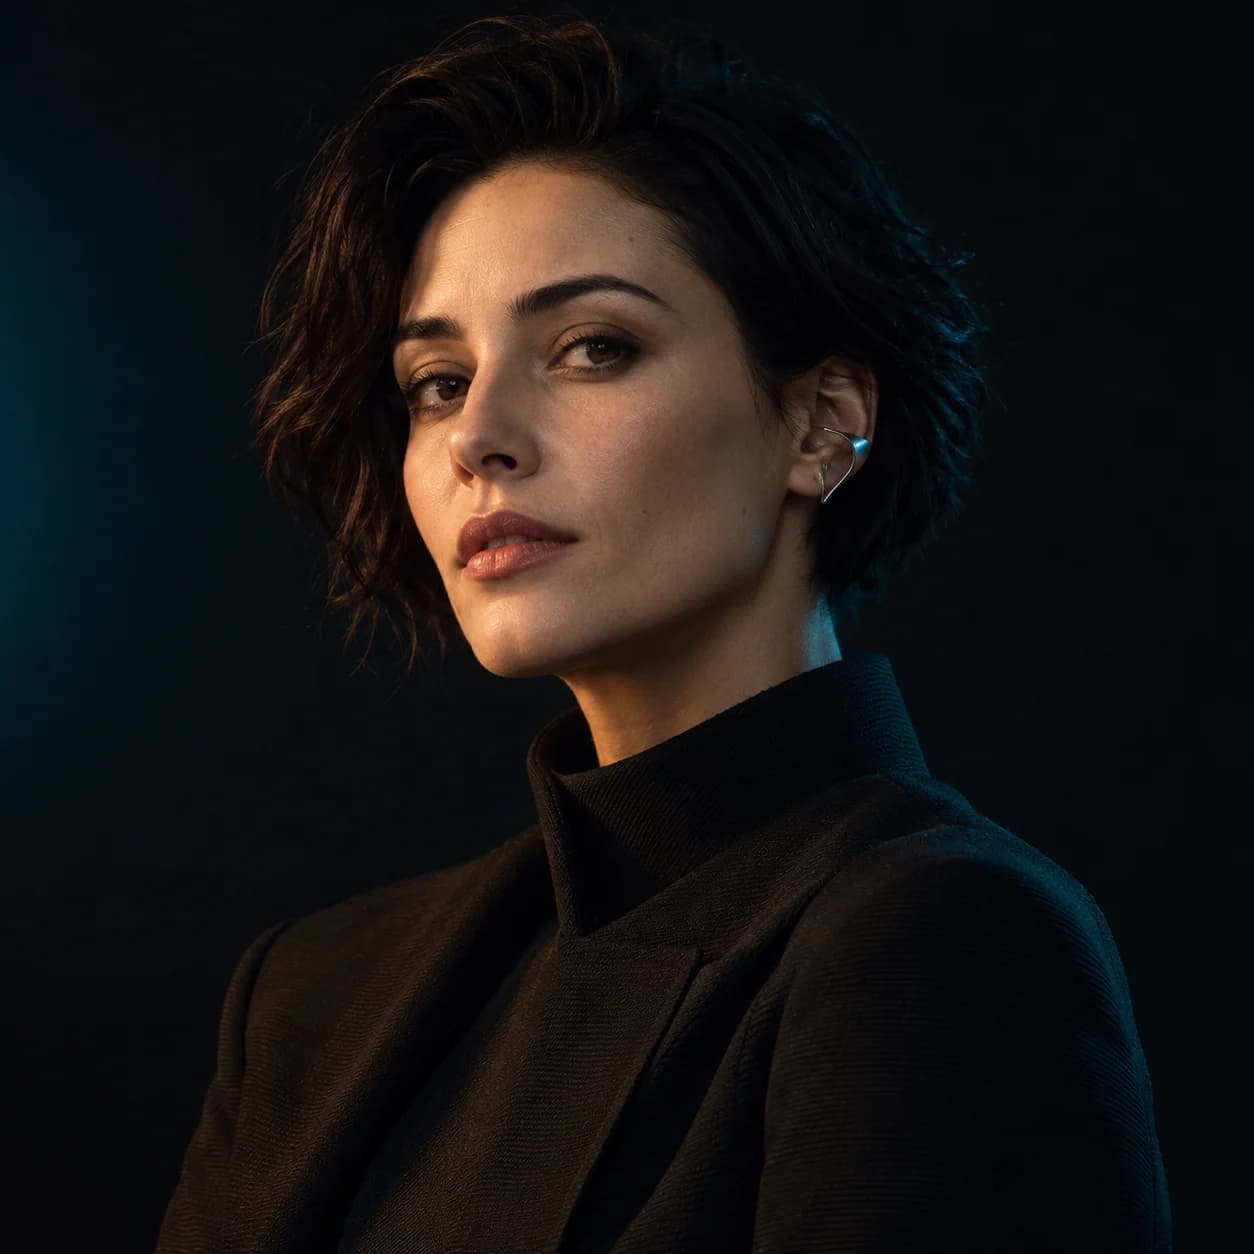
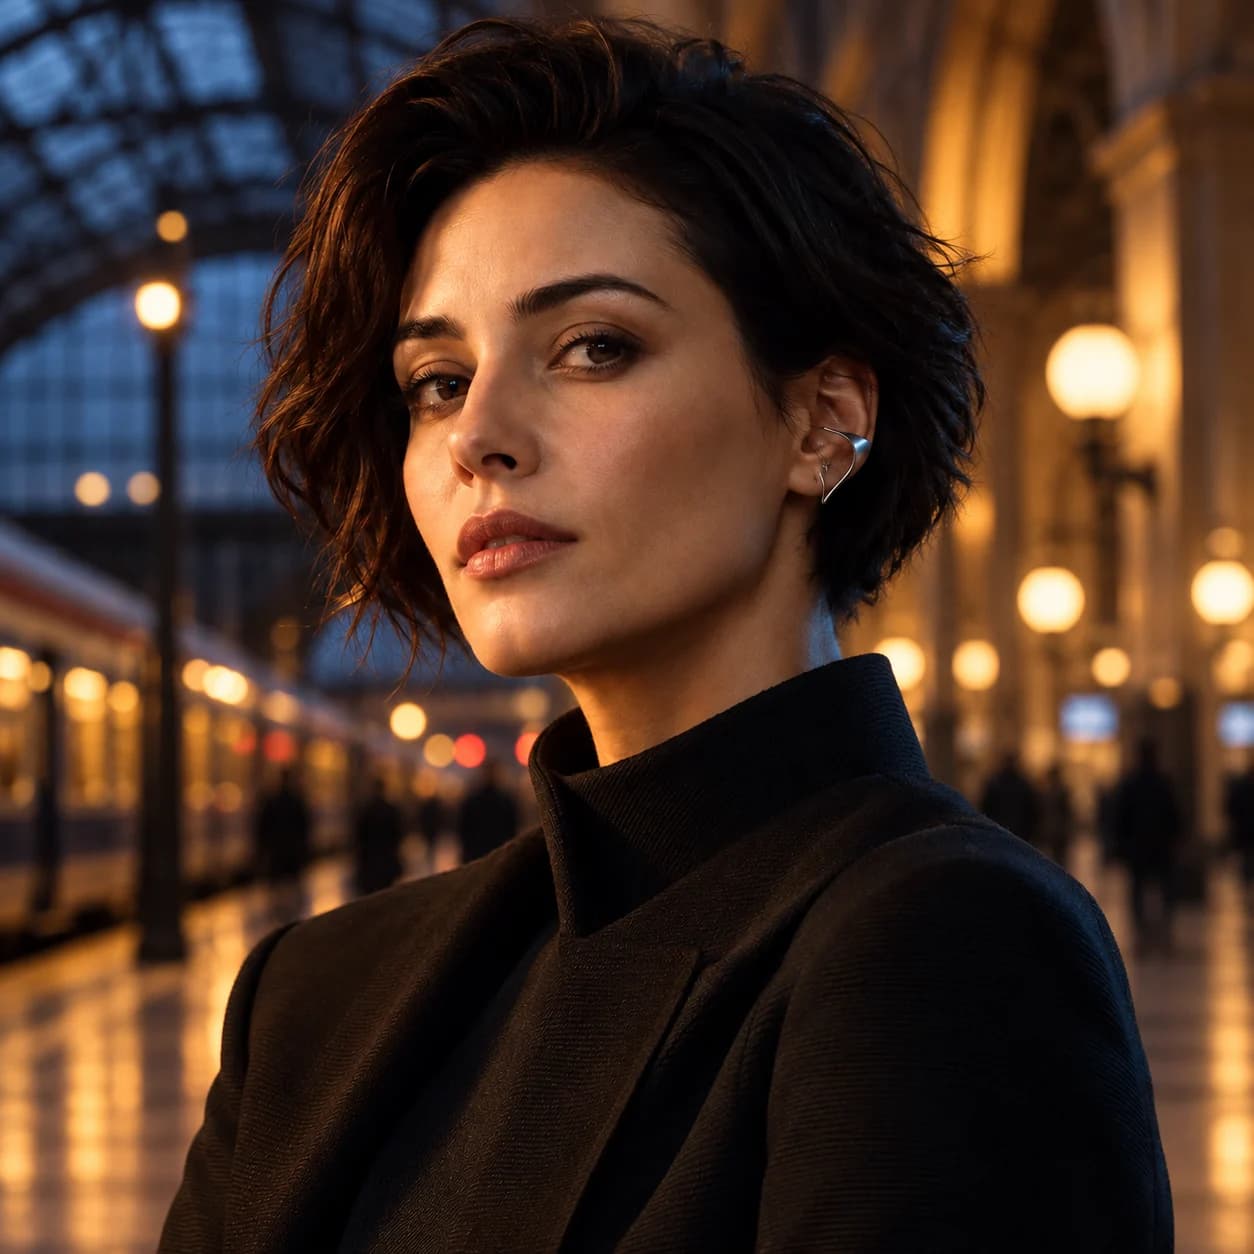
Keep
Face, hair, expression, jacket, and framing
Change
Studio portrait → evening station scene
See the image to image prompt +
Keep the same fictional adult character, facial features, short dark hair, gaze, silver ear cuff, high-neck jacket, and camera angle. Change only the background and lighting to an evening station concourse, with soft warm lights and muted blue ambience.
Illustrative reference/variation pairs created with an external image tool, not RasterBloom output benchmarks. Compare each result with its source; generated details can change.
A reference gives the model a subject, composition, and palette to work from. Name the details you want to carry forward.
02 / A deliberate direction
Change one thing well
Try a new background or a different lighting direction. A focused edit is easier to judge than a complete reinvention.
A practical workflow
Start clear. Keep the useful versions.
Give each attempt one purpose, then review the result against the brief before moving on.
01
Choose a source
Upload an image you own or are authorized to edit. Use a clear source with the important details visible.
02
Write the brief
Describe what should stay, then the change you want. Keep the first experiment narrow.
03
Check the result
Compare faces, edges, geometry, and text with the source. Use a good result as your next reference.
Put it into words
A brief you can actually evaluate.
Adapt the subject, details, and requested change to your own source. Review the image instead of assuming the prompt was followed exactly.
Prompt starting pointEDITABLE / 001
Keep the original subject, proportions, camera angle, and placement. Change only the backdrop to dark textured concrete, with soft warm light from the left. Do not add extra objects or text.
It uses a reference image together with your written instructions to generate a new image. The source supplies visual context; the prompt describes the direction.
Does it preserve the original exactly?
No. Generative editing can alter details even when asked to keep them. Review the result against the source, and use conventional masking or compositing when exact pixels matter.
How much does image to image cost?
Each image to image generation costs 2 credits. The 3 starter credits cover one edit and one text generation. A $5 pack contains 150 credits, enough for up to 75 edits.

 Reference
 Variation